
| Product | Supplier | Attachment | Material | Cost/pair | Notes |
|---|---|---|---|---|---|
| Airfoil Rail Guide | SC Precision | Flat head screw | Machined Delrin | $7.00 | Teardrop shaped to reduce drag |
| Low-drag Rail Guide | Aero Pack | Flat head screw | Machined Delrin | $2.50 | Includes weld nuts |
| New Style 1010 | Rail-buttons.com | Flat head screw | Molded Delrin | $1.00 | 10/pack, introductory price |
| One-piece 1010 | Rail-buttons.com | Pan head screw | Molded Delrin | $1.70/$1.45/$1.35 | 2/10/30 packs |
| 3-piece 1010 | Rail-buttons.com | Pan head screw | Delrin | 76¢ | 10/pack |
| 3-piece 1010 | Rail-buttons.com | Pan head screw | Nylon | 50¢/48¢/46¢ | 10/30/50 packs |
| Linear Rail Lug | PML | Surface/Flat head screw | Cast urethane | $5.95 | Can be screwed and/or epoxied on ≥ 38mm airframes |
| Conformal Rail Guides | Wildman Rocketry | Surface/Flat head screw | 3D printed plastic | $2.50 | Can be screwed and/or epoxied; diameter not specified |
| ACME Conformal® Rail Guide | Giant Leap Rocketry | Surface | Extruded aluminum | $3.99 | 38mm to 7.5” diameter-specific; includes 3M adhesive strip |
| Conformal Rail Guide | Rosenfield Aerospace | Surface | 3D printed plastic | $2.99 | 29mm to 5.54” LOC airframes; diameter specific |
| Universal Rail Guide | Apogee Components | Surface | Cast urethane | $3.28 | Any airframe size |
| Fly-Away Rail Guide | Apogee Components | N/A | Plywood | $5.48-$13.60 | Leaves rocket on rail exit; 13mm to 54mm sizes |
| Fly Away Rail Guide | Additive Aerospace | N/A | Plastic, aluminum | $30.00-$100.00 | Leaves rocket on rail exit; 38mm to 98mm sizes |
Sections
A rocket must be traveling fast enough so that the air rushing past its fins generates enough lift to achieve stable flight. Until then, it must be guided upwards by a launch rod, rail, or tower. Launch towers are larger and more complicated than the alternatives and are not generally used outside of competition rocketry or large, experimental projects. Launch rods work well for small rockets but launch rails are a better for medium to large rockets. Launch rails will be an option at virtually all club launches so all you need to do to use them is choose a pair of rail guides and attach them to your rocket.
History
Model rockets are typically flown with the launch pads included with the nearly-ubiquitous Estes launch sets. They are small, plastic tripods with a 1/8” diameter rod sticking straight up. High-power rockets started out as scaled-up model rockets so the rod size grew as the rockets got bigger and heavier–3/16”, 1/4”, 1/2”, 3/4” and so on.
This presents a problem because larger rockets also need to be guided for a longer distance than model rockets to achieve a safe speed. An 8-foot 1/2” rod is flexible enough so that when a large rocket is loaded onto the pad the rod can bend and sway in the wind. This flexibility can cause “rod whip” where the rod can spring back and hit the rocket–or even fling if off course–as it departs the rod.
Blacksky, the now-defunct consumer rocketry company founded by Scott Bartel, almost1 single-handedly introduced launch rails to hobby rocketry to solve these problems. In 1999 they offered free “standard” rails to 100 rocket clubs and, since then, rails become a fixture of high power launches2. The Blacksky standard rails were 2 2-foot lengths of black-anodized extruded 6063 aluminum C-channel joined by a stainless steel bracket on the back3. The larger “ProRail” was significantly stronger and came in 6-foot lengths of black-anodized 6063 extruded aluminum I-beam with a C-channel on one side.
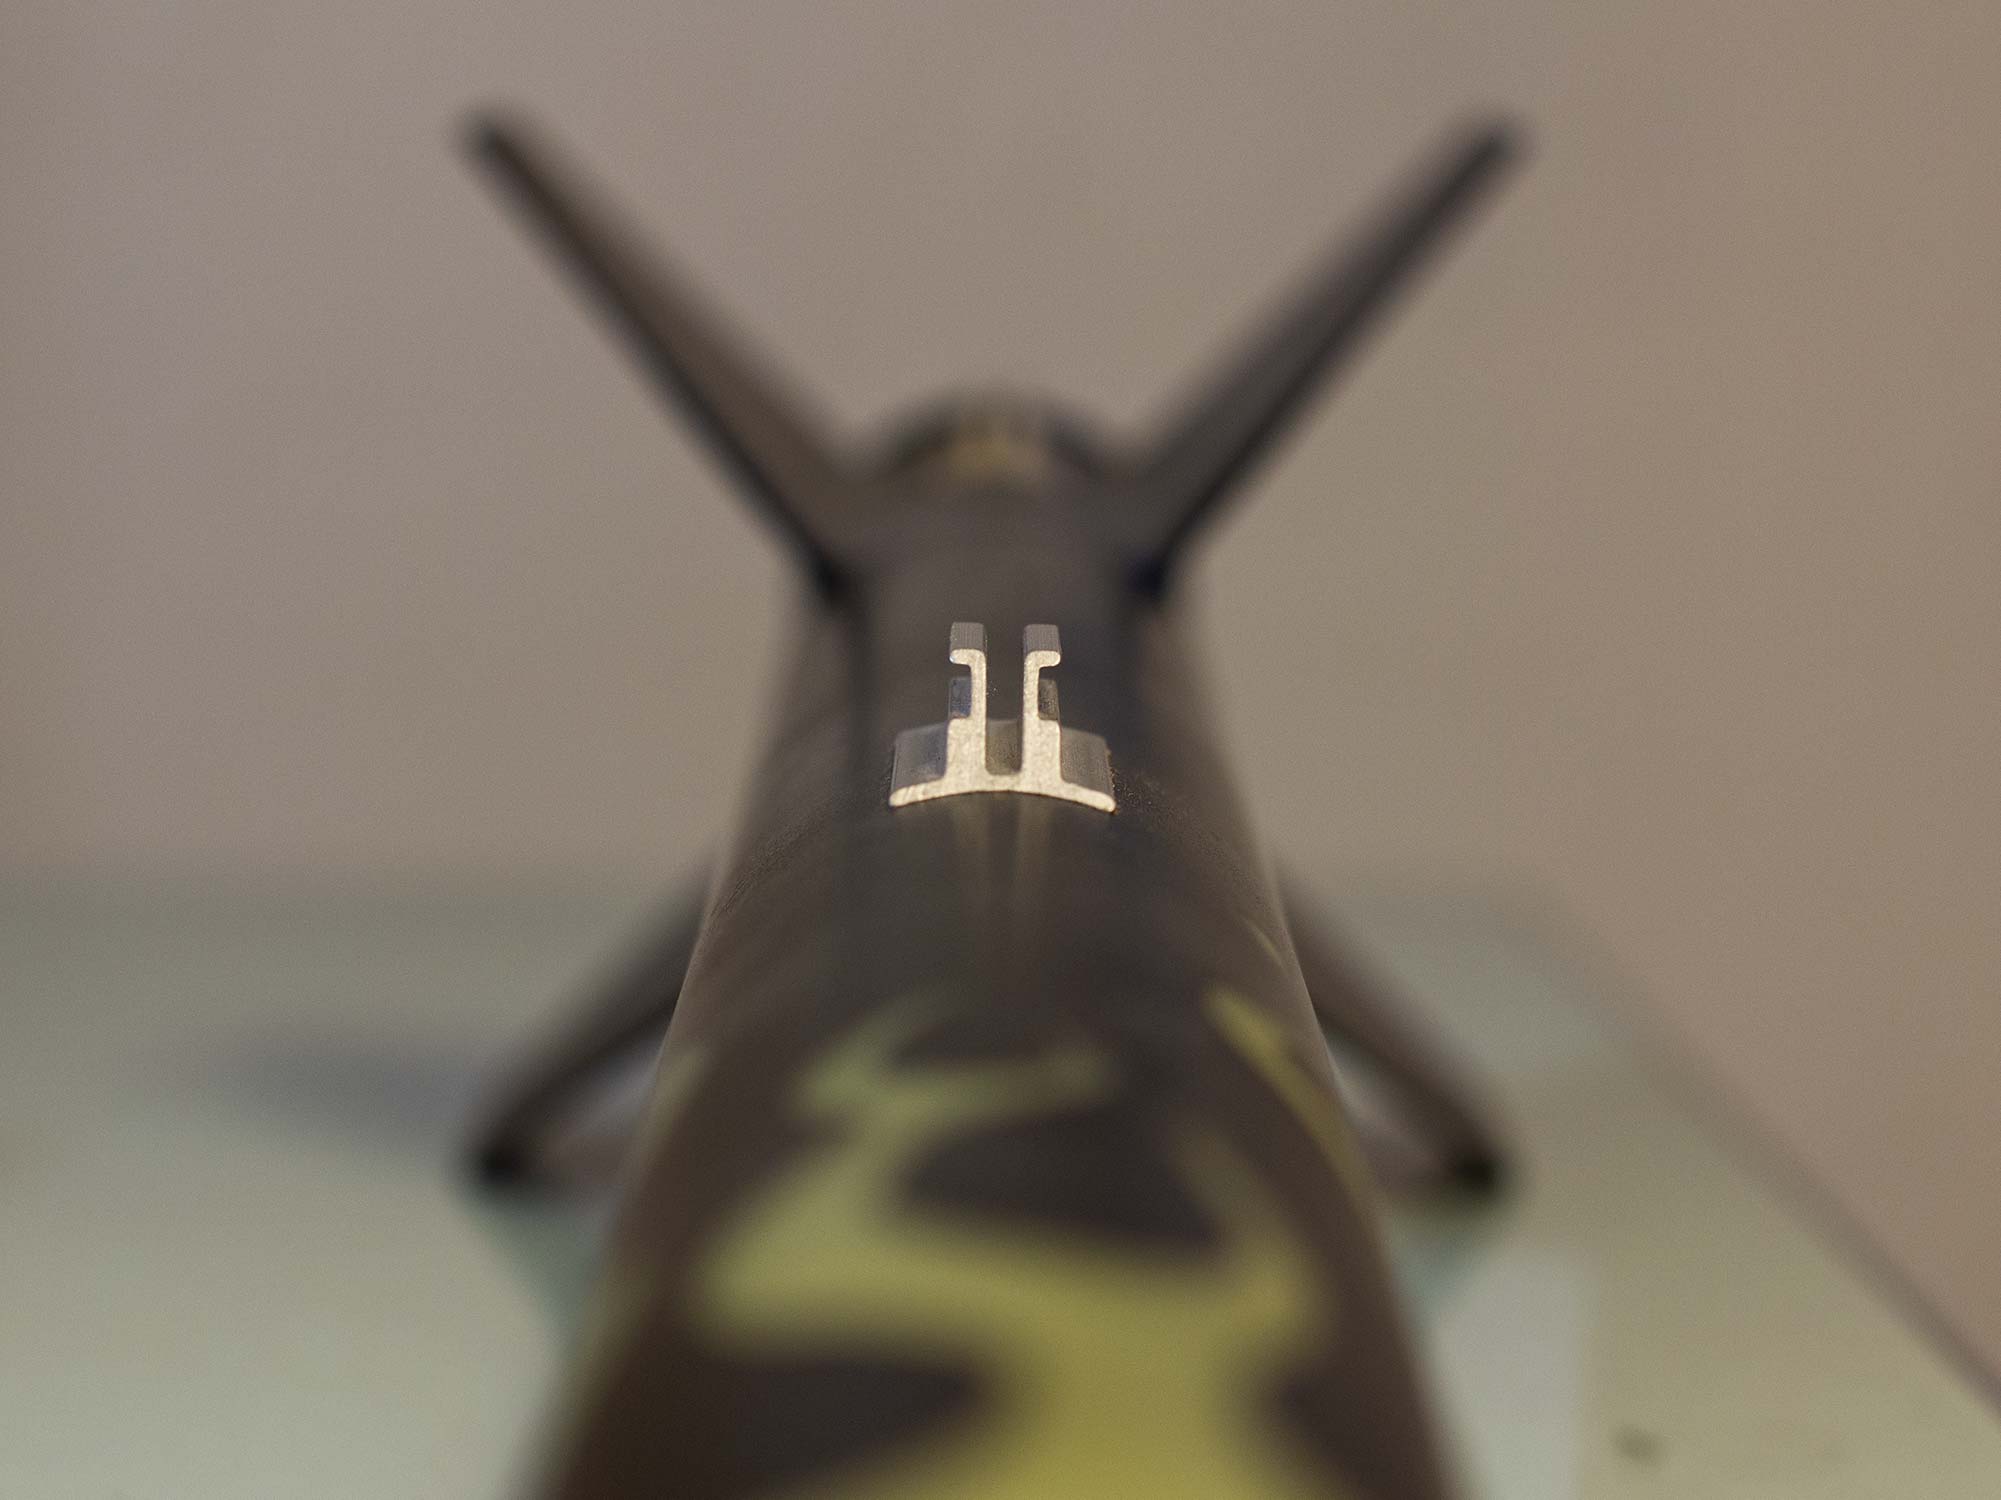
Both Blacksky rails used the same size of rail guides. Either by coincidence–or maybe even by design–Blacksky rail guides are also compatible with the 1”, or 1010, aluminum profiles made by 8020. These X-shaped profiles are readily available from industrial suppliers, rocketry vendors, or directly from the manufacturer in a wide variety of lengths and configurations.
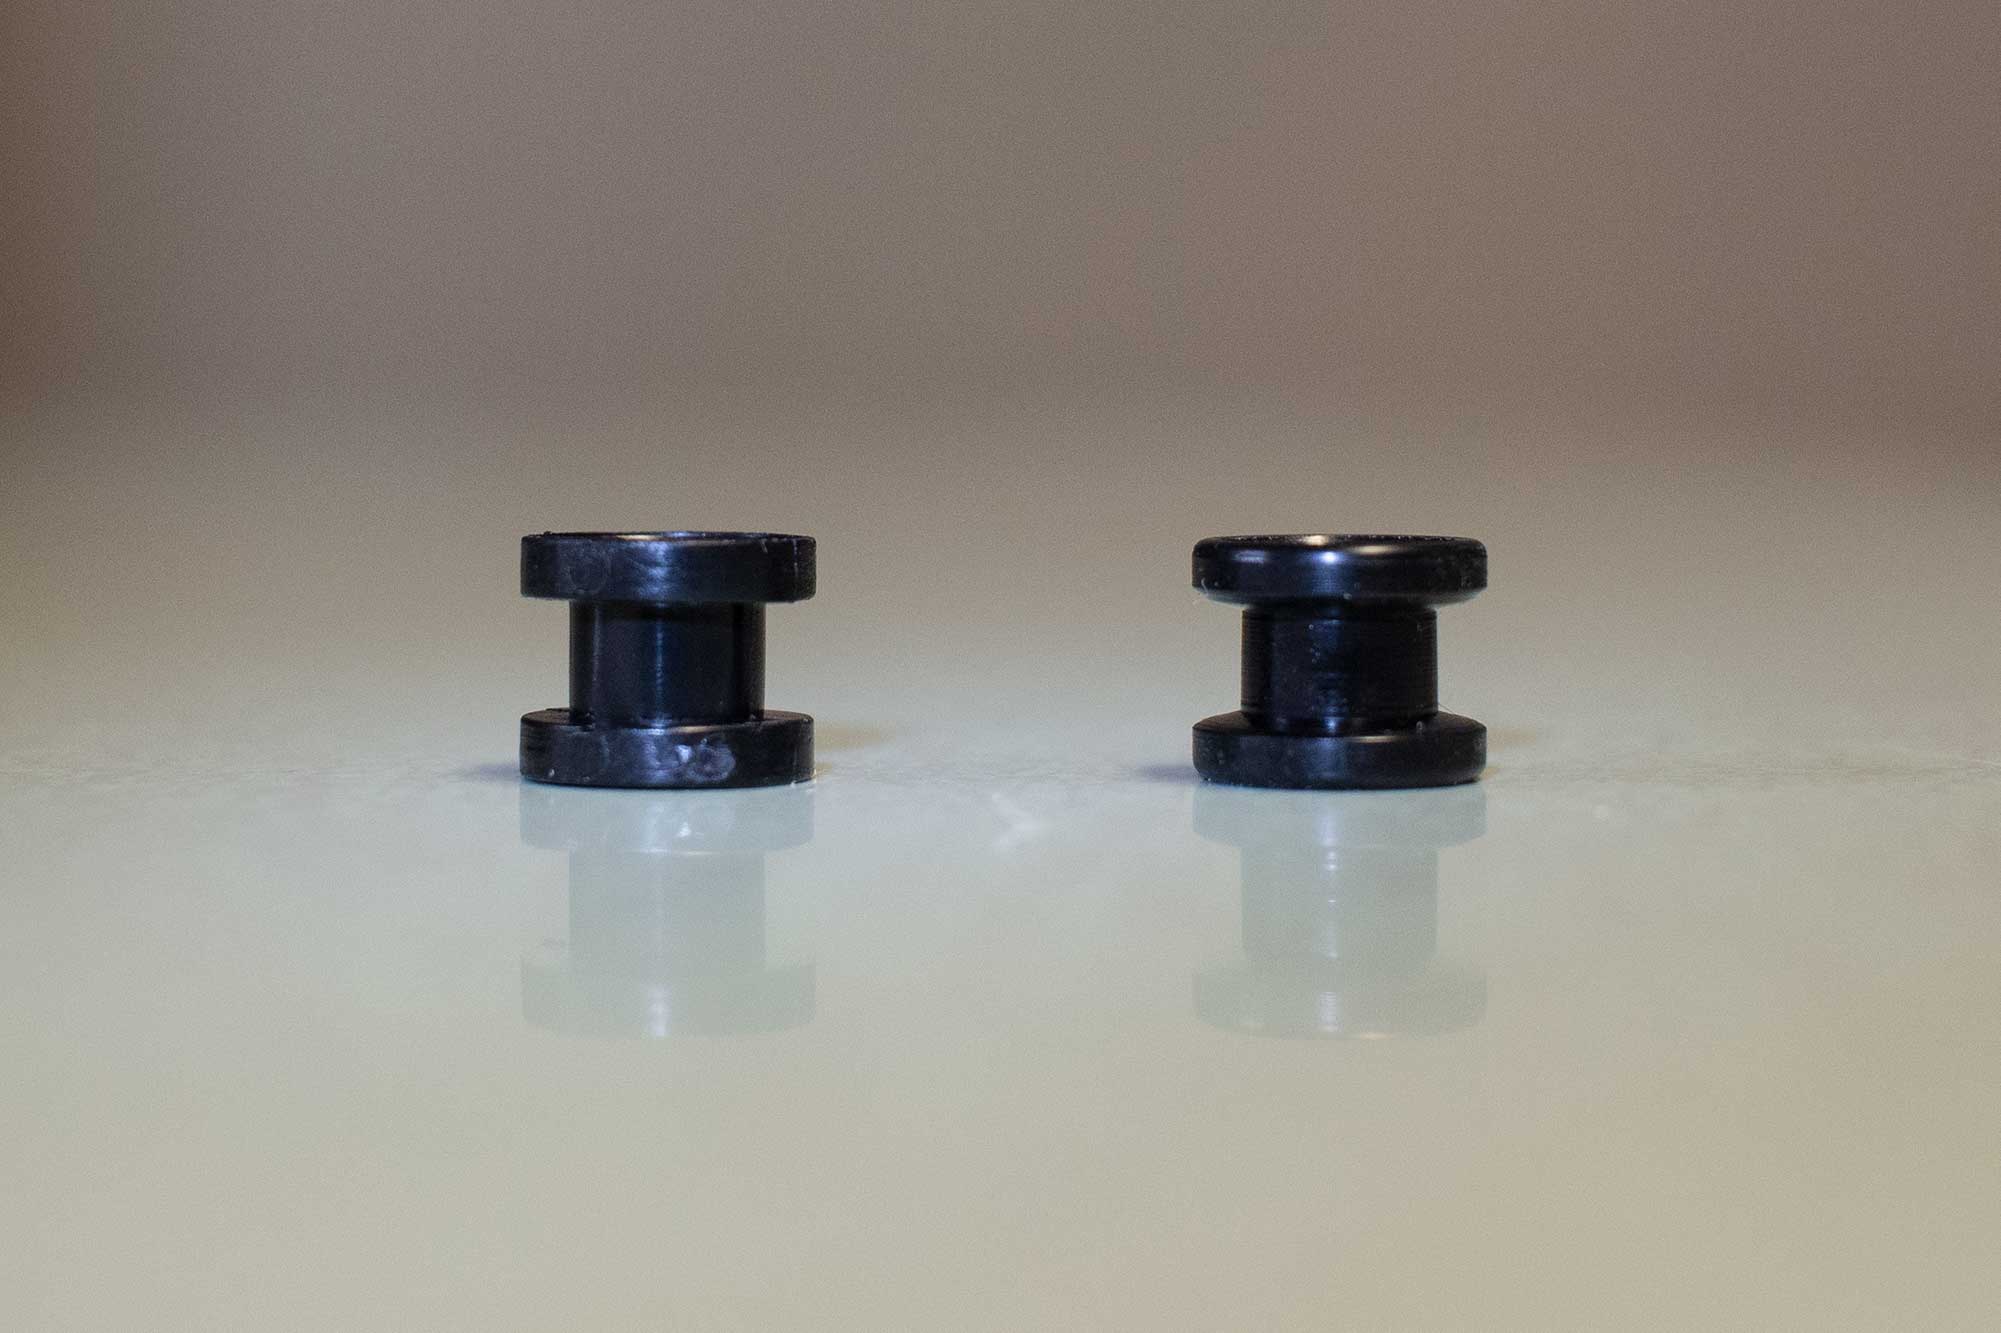
The original Blacksky rail guides were machined from 3/8” Delrin (acetal/Polyoxymethylene) bar stock with a profile of a squat capital “I”. They also offered “pro” guides that were the same size but made with Teflon-coated red-anodized aluminum. Both styles were mounted to the airframe with 8/32 pan head screw, Philips head for the standard guides, Socket head for the aluminum guides. That style of rail guide is still in use today and is commonly referred to as a “rail button” (they look a little like a button because they’re round).
Rail buttons or rail guides?
Rail guides can be any shape or size. Rail buttons are small, round rail guides. I call them all rail guides because it’s a more general term and that’s what Blacksky called them when they were first introduced.
Sizes
There are 4 sizes of commercially available rail guides:
| Guide Size | Rail |
|---|---|
| Micro | MakerBeam (10mm) or OpenBeam (15mm) |
| Mini | 2020 (20mm) |
| Standard/1010 | 1010 (1”), Blacksky rails |
| 1515 | 1515 (1.5”) |
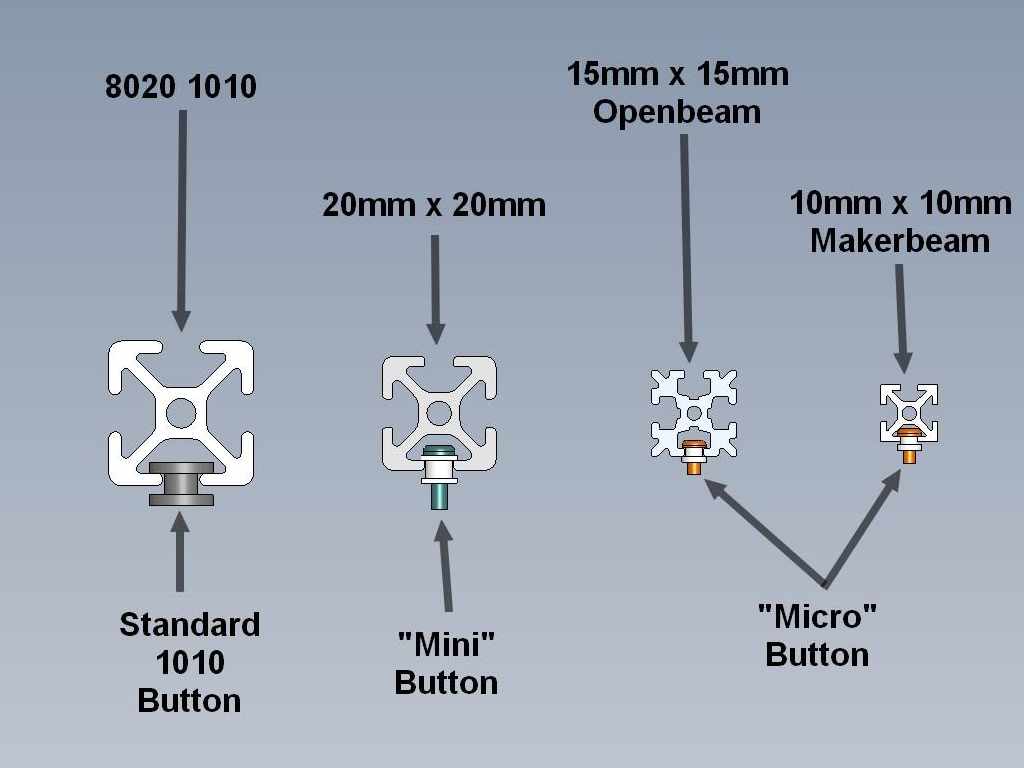
The smaller two sizes–mini and micro–are available from Rail-buttons.com. 1010/starndard is the most common size so there are a variety of different styles and materials available from many different rocketry vendors.
Varieties
There are lots of options for 1010/standard size rail guides:
Selection
You can spend between 46¢ and $100 to add a rail guide to your rocket. Given the field, which one would you choose?
My favorites are:
- SC Precision Airfoil Rail Guide (when I’m feeling fancy–it’s $5 more per pair than my second choice). According to analysis presented by Tim Van Milligan at NARCON 2017 (and referenced on the Apogee Components product page), an airfoil rail guide with a rounded top edge has a coefficient of drag of .24 which is vastly better than the .57 of a conventional button-style rail guide. The drag coefficient is a multiplier in the drag equation so lower is a lot better–especially at higher speeds (there’s a velocity squared in there).
- Low-drag airframe mount rail guide from Aero Pack are nicely machined Delrin that are mounted using a countersunk machine screw into a provided weld nut. These are the nicest button-style guides I’ve found.
The new-style molded Delrin rail buttons from Rail-Buttons.com are almost as nice as the ones from Aero Pack but the surface finish isn’t as smooth and they don’t come with an anchor of any kind–just a machine screw. They’re cheaper than the Aero Pack guides and perfectly decent quality so they are a good choice for most people.
I’ve also had good luck using ACME Conformal® Rail Guides on minimum-diameter rockets.
On the Rocketry Forum, Mike Mulligan suggests cutting an ACME Conformal® Rail Guide in half and using the two halves for one rocket. That sounds like a good idea to me!

Placement
While most rockets only have one launch lug, rockets need at least two rail guides4. The original recommendation from Blacksky was to mount one at the base of the rocket and the other 1–2 calibers below the center of gravity. This method is casually endorsed by John Coker, and it’s what I’ve always done (because I followed the instructions that came with my first rail guides). There are other opinions too:
You should place the two buttons so that they are on either side of the Center-of-Gravity (CG) of the rocket. Further apart is better if you have room.
Tim Van Milligan Peak of Flight #489, p. 2
Install one rail button 1” from the aft end of the rocket, and another [1.5 caliber] from the front of the airframe.
Mike Westerfield, Make: High Power Rockets Figure 3-52, p. 57
All told, it doesn’t seem to matter a whole lot where they are placed as long as you have two of them anchored to the airframe in a straight line.
Anchoring
It’s important to firmly attach rail guides to the airframe of your rocket but you can do it in a lot of different ways:
- Screw it into the airframe (backed with epoxy clay) see Peak of Flight #489
- Screw it into an internal structure–a centering ring, for example–like the blukhead mount (RG10B) rail guides from Aero Pack
- Use a Weld nut like the low drag rail guides (RG10A) from Aero Pack; other styles of weld nut can be sourced from McMaster-Carr
- Use a DIY weld nut e.g. a piece of aluminum tapped for a machine screw, Make: High Power Rockets p. 56
- Mount a T-nut on a small piece of plywood e.g. Certify Level 1 by John Coker
- Mount a T-nut on a 3D printed plastic slug curved to fit the inside diameter of the airframe like the Conformal Rail Button Nuts from Lab Rat Rocketry
- Glue a regular machine screw nut to the inside of the airframe with or without a plastic nut holder like the Nut Holder Kit for 1010 Rail Buttons from SMT Designs
- Glue it to the surface of the airframe using a bonding epoxy or, in the case of the ACME Conformal® Rail Guide, a strip of 3M permanent adhesive
There isn’t a clear winner here. The best anchoring method will depend on the size, weight, and configuration of the rocket. I like to have the ability to remove and replace the rail guide if needed so I favor options that add metal threads to the airframe like a plywood-mounted internal T-nut, a weld nut, or a plastic nut holder.
* * *
Launch rails are better than launch rods for most rockets. There are a lot of options to choose from when selecting and mounting rail guides but there aren’t many bad ones. Pick any pair you like, or go with one of my recommendations, fasten them securely to your rocket, and fly higher & safer.
-
I have heard of people using sailboat masts as improvised launch rails in the 90s. They sunk screws most of the way into the airframe and then slid the screw head down the channel of the mast. ↩
-
Because they were the de facto standard, you still see “Blacksky compatible” in marketing copy for rails and rail guides on some rocketry vendor websites 20 years later. ↩
-
My dad and I were early adopters of launch rails and used them with rockets down to 38mm in diameter. My dad also used them extensively with his TARC teams. ↩
-
Two rail guides are sufficient for typical rockets. I have seen 3 rail guides used on very long, slender rockets and, occasionally, on two-stage rockets but those are exceptional cases. You might be able to get away with one, long rail guide–like the PML linear rail lug–on a small, squat rocket but I don’t think it’s worth it. Fly-away rail guides like the ones from Apogee Components or Additive Aerospace are a better choice if you are trying to minimize parasitic drag. ↩